Set image properties for image field
Refer to this page to learn about the Image field
The image field allows you to perform the following customizations for the user experience of the image field in your form:
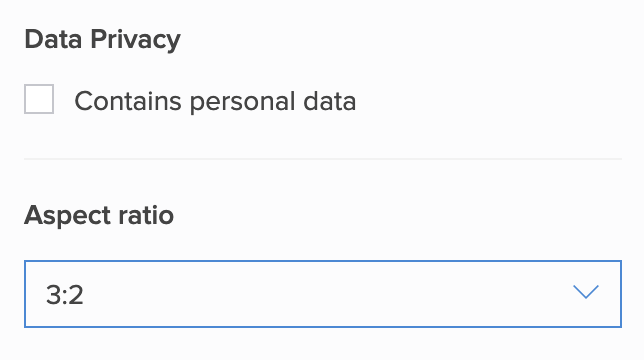
Set aspect ratio
- Edit your app.
- Open the required form's builder.
- Select the required image field. Its Field Properties will appear on the right.
- Select the required value from the dropdown below Aspect ratio. The picture your end user uploads or captures will be resized to this ratio.
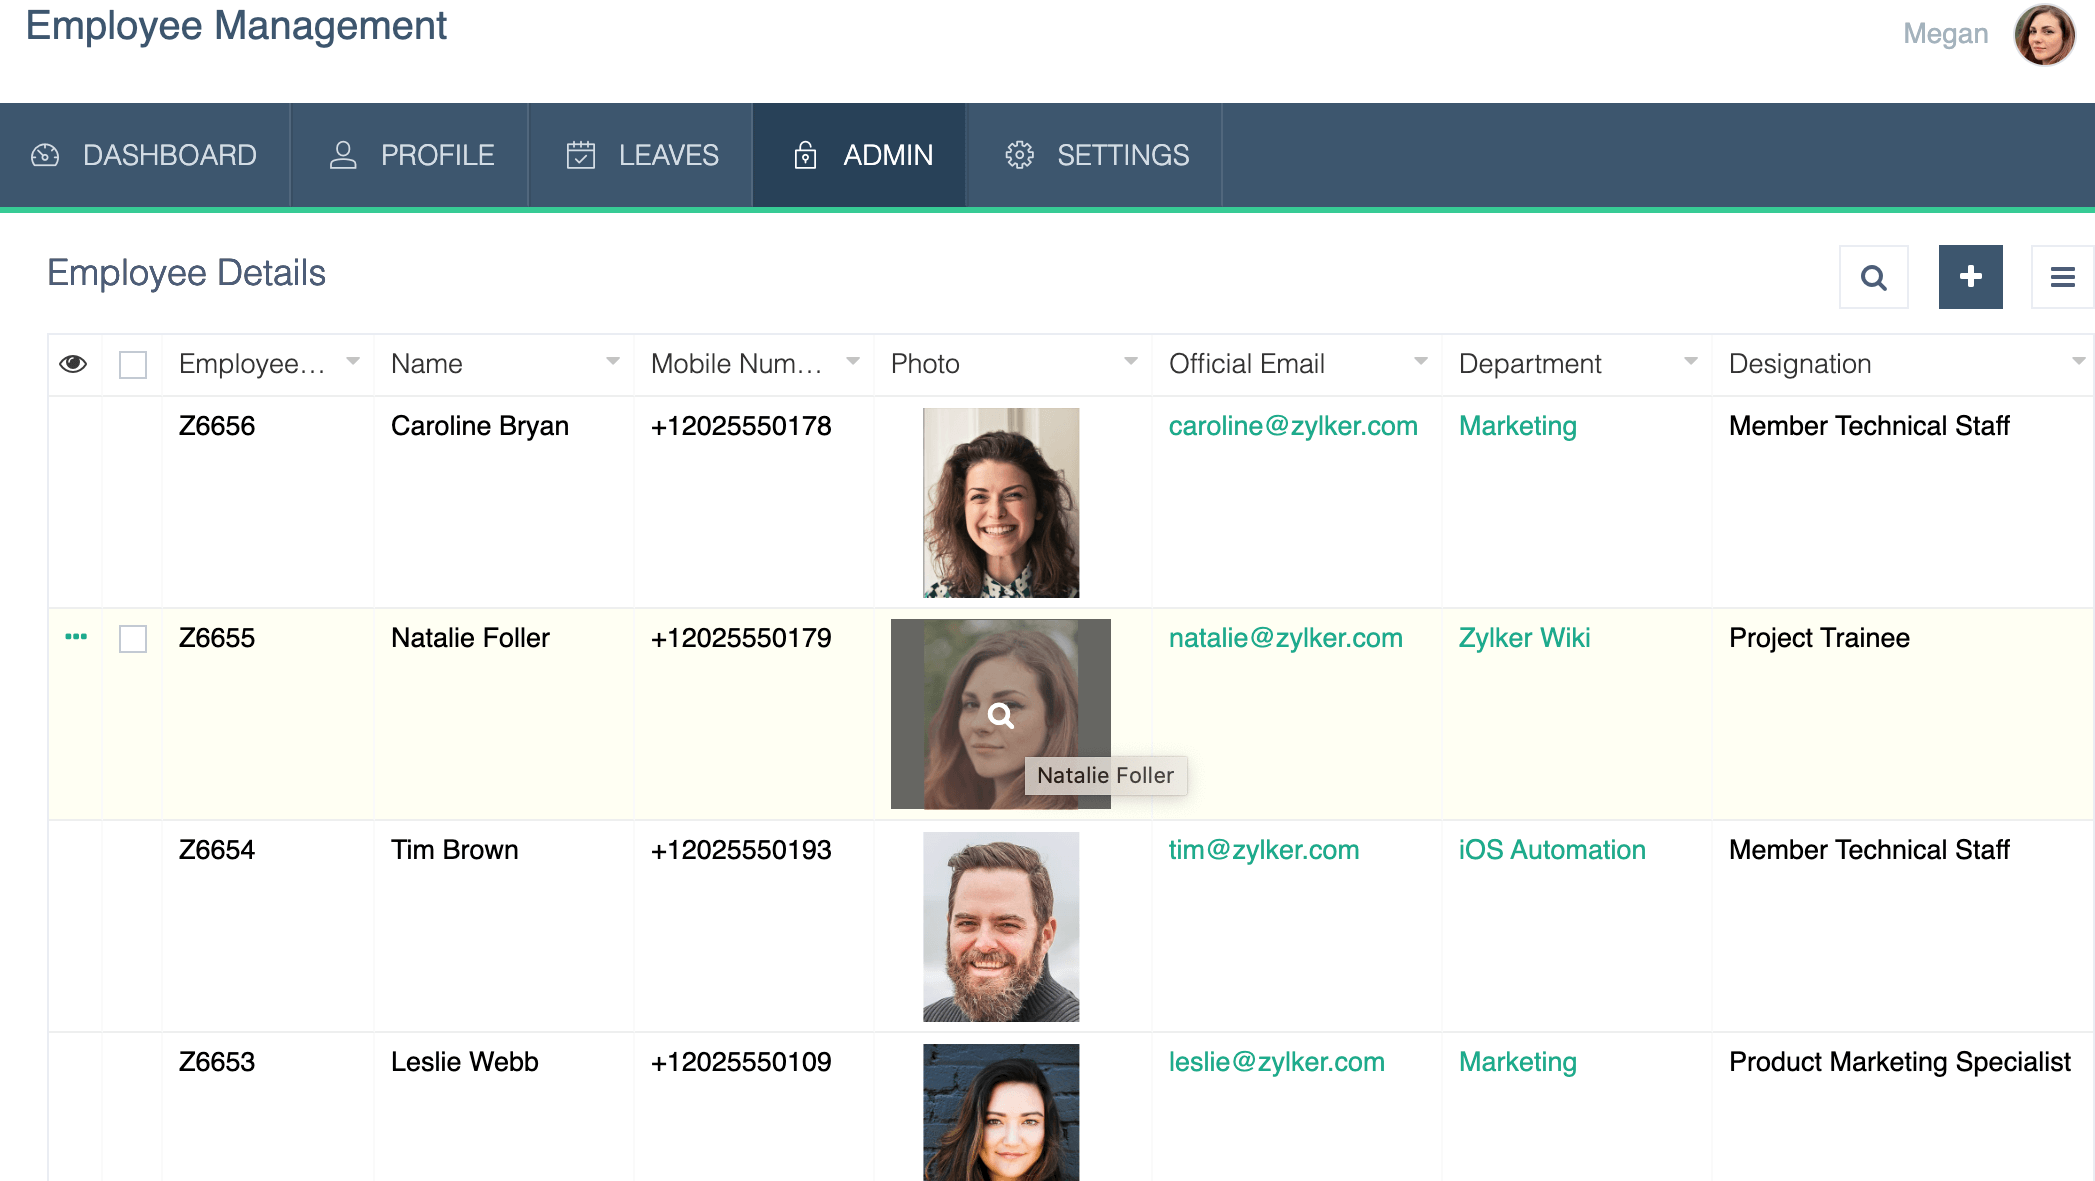
Below is how images added in the image field will look in a report with an aspect ratio of 3:2.
Set browse options
- Edit your app.
- Open the required form's builder.
- Select the required image field. Its Field Properties will appear on the right.
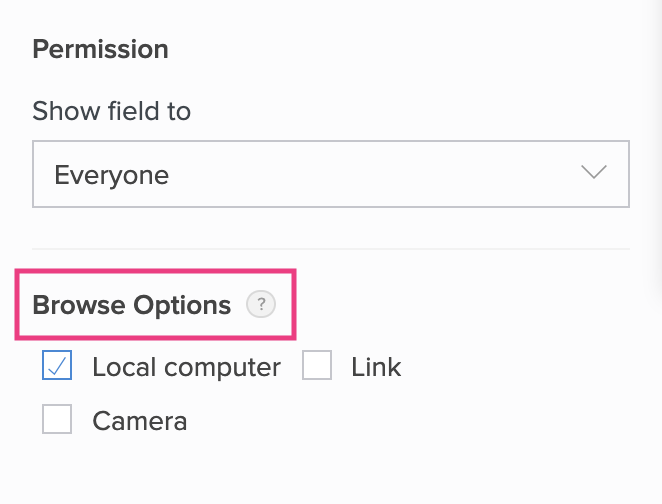
- Check the required Browse Options:
- Check Local computer to allow the end user to upload an image from their device's local storage (photo gallery in case of mobile devices)
- Check Link to allow the end user to enter the URL of an image stored in the cloud
- Check Camera to allow the end user to capture an image using their device's camera
Set image options
- Edit your app.
- Open the required form's builder.
- Select the required image field. Its Field Properties will appear on the right.
- Check the required Image options:
- Title: The title allows your users to enter additional information about the URL they input, which is displayed as a tooltip in reports.
- URL: Link name allows your users to define the landing page URL(the webpage where your users will be redirected to after clicking an image in your report) for the image they add in the image field.
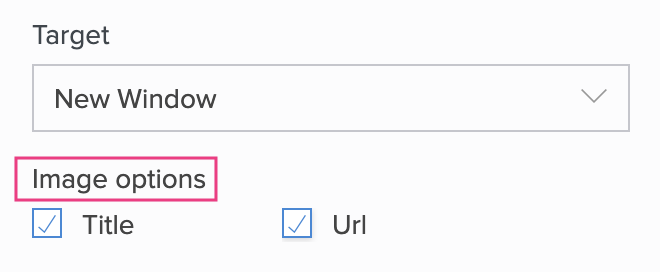
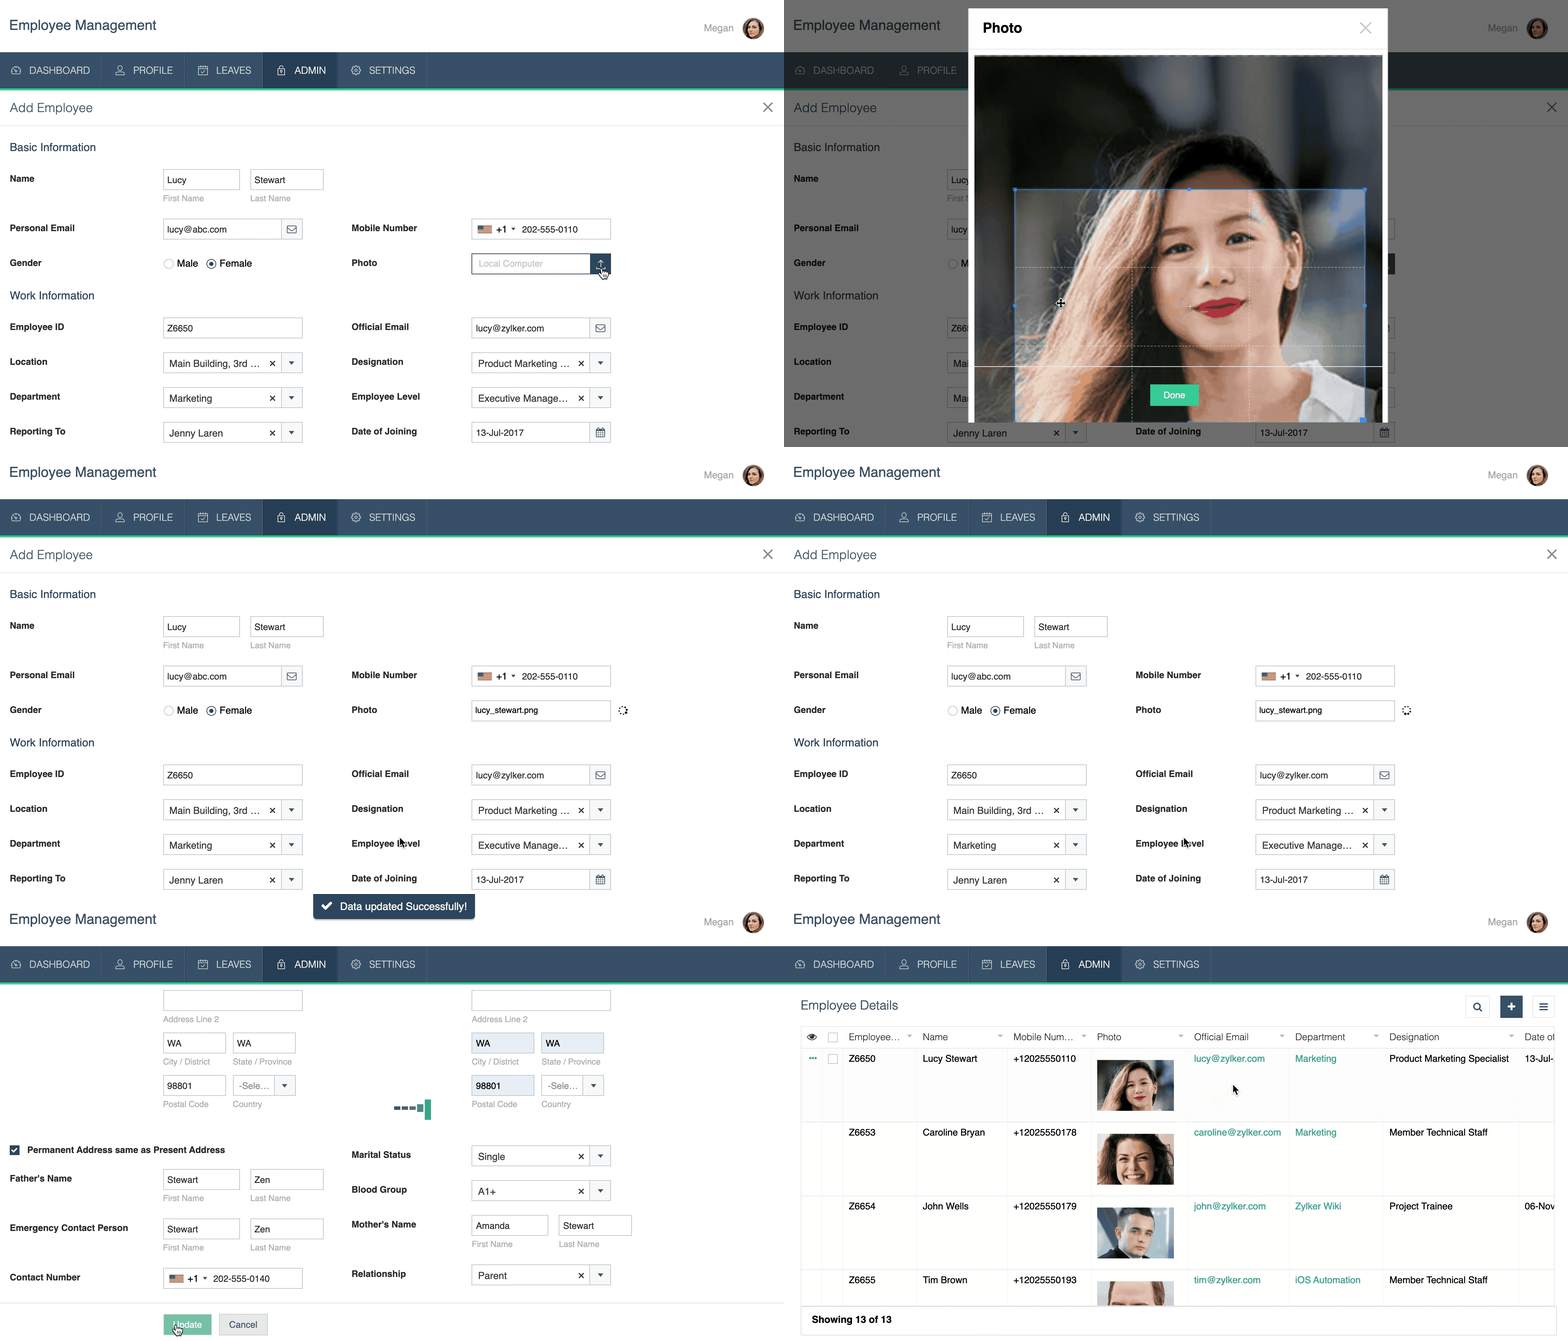
Take a look at the following example of an image field that accepts an input for the image's title and URL in the browser:

The below image shows how a title for the image field in a report looks:
