Add and manage panel elements
The panel builder in Zoho Creator enables customizing panels, including adding more elements—text, images, and buttons—to them:
Add text to a panel
- Edit your application.
- Select the required page from the component menu near the top-left of the Design page.
- Hover over the page's preview and click Open Page Builder.
- Select the required panel.
- Click the Configure button displayed at the top of the page builder. Alternatively, you may double-click the panel. The panel builder will slide in from the right.
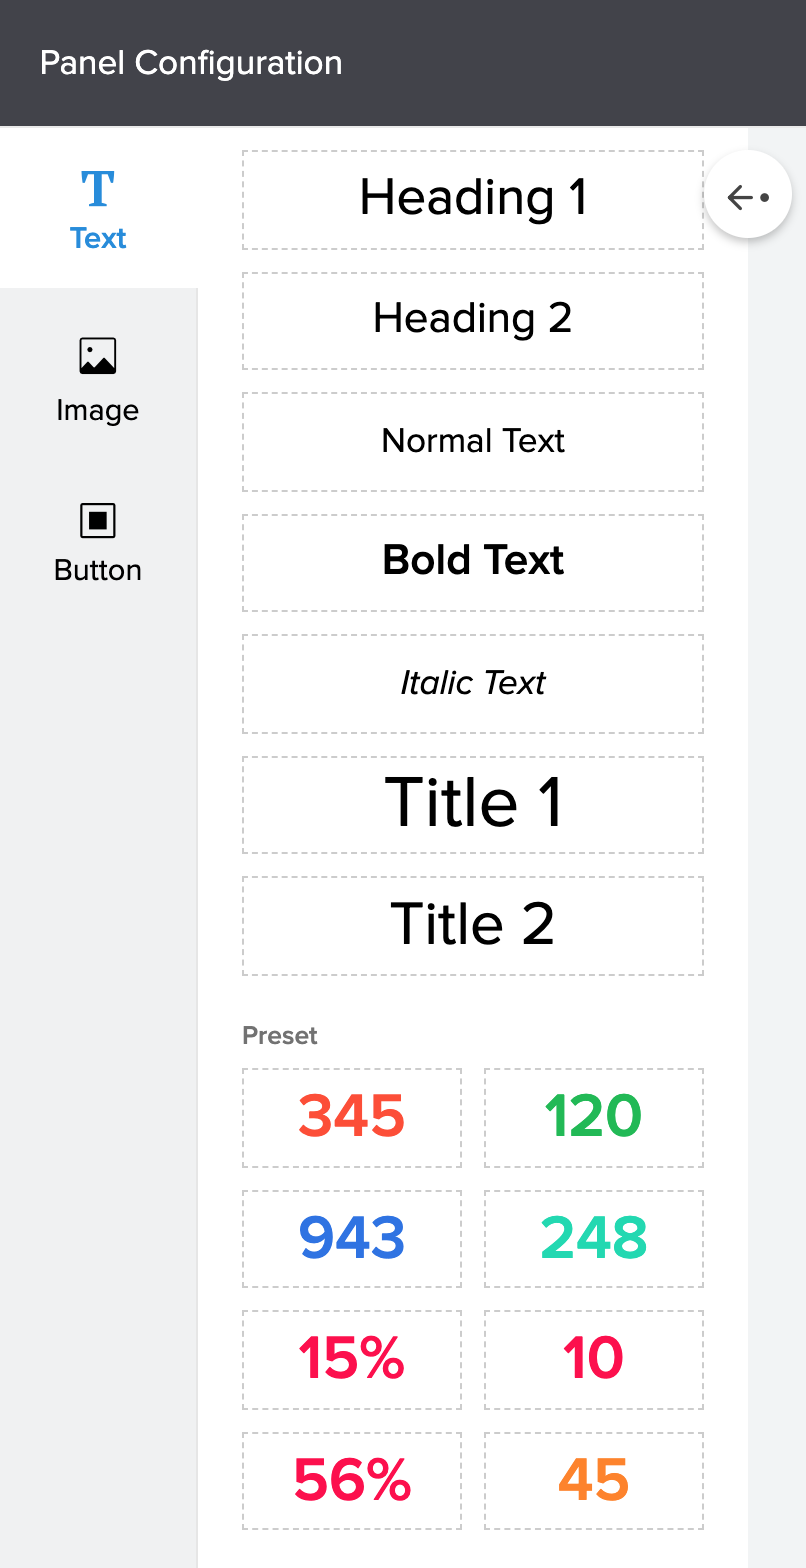
- Click the Add New Elements button displayed on the left. Predefined templates will appear.
- Drag and drop the required text element to the panel.

Add an image to a panel
- Edit your application.
- Select the required page from the component menu near the top-left of the Design page.
- Hover over the page's preview and click Open Page Builder.
- Select the required panel.
- Click the Configure button displayed at the top of the page builder. Alternatively, you may double-click the panel. The panel builder will slide in from the right.
- Click the Add New Elements button displayed on the left.
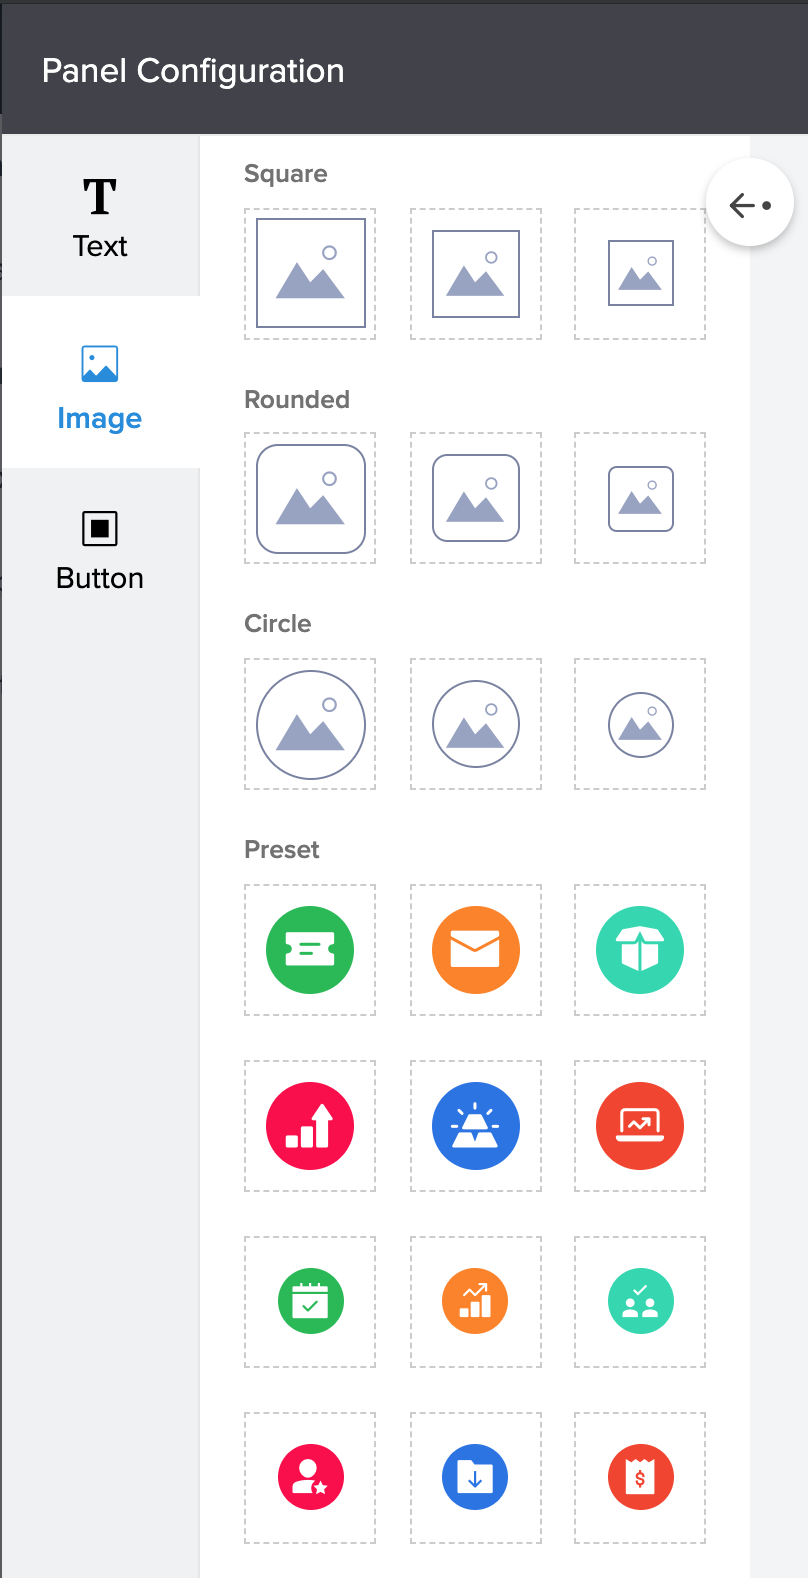
- Click Image. Predefined templates will appear.
- Drag and drop the required image element to the panel:

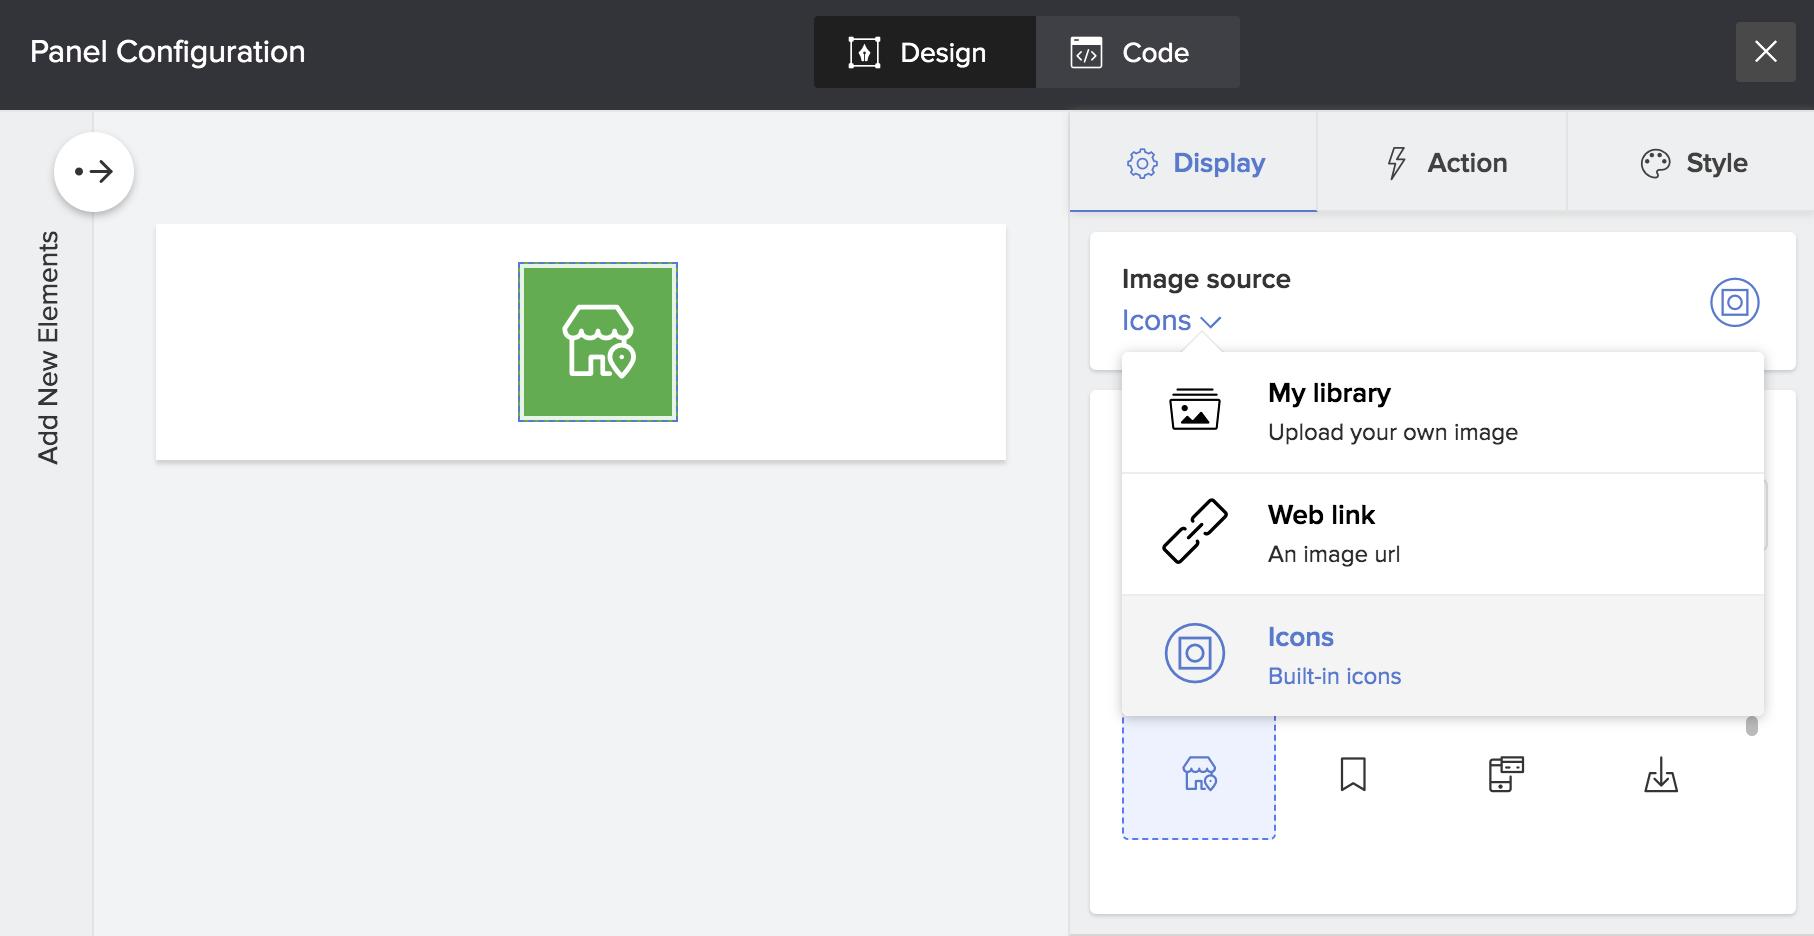
- Select the required icon.
- Change the Image source as required:
- Select My library, then select an image from your account's library or upload one from your device
- Select Web link, then enter the URL of an image that's publicly accessible on the Web

Add a button to a panel
- Edit your application.
- Select the required page from the component menu near the top-left of the Design page.
- Hover over the page's preview and click Open Page Builder.
- Select the required panel.
- Click the Configure button displayed at the top of the page builder. Alternatively, you may double-click the panel. The panel builder will slide in from the right.
- Click the Add New Elements button displayed on the left.
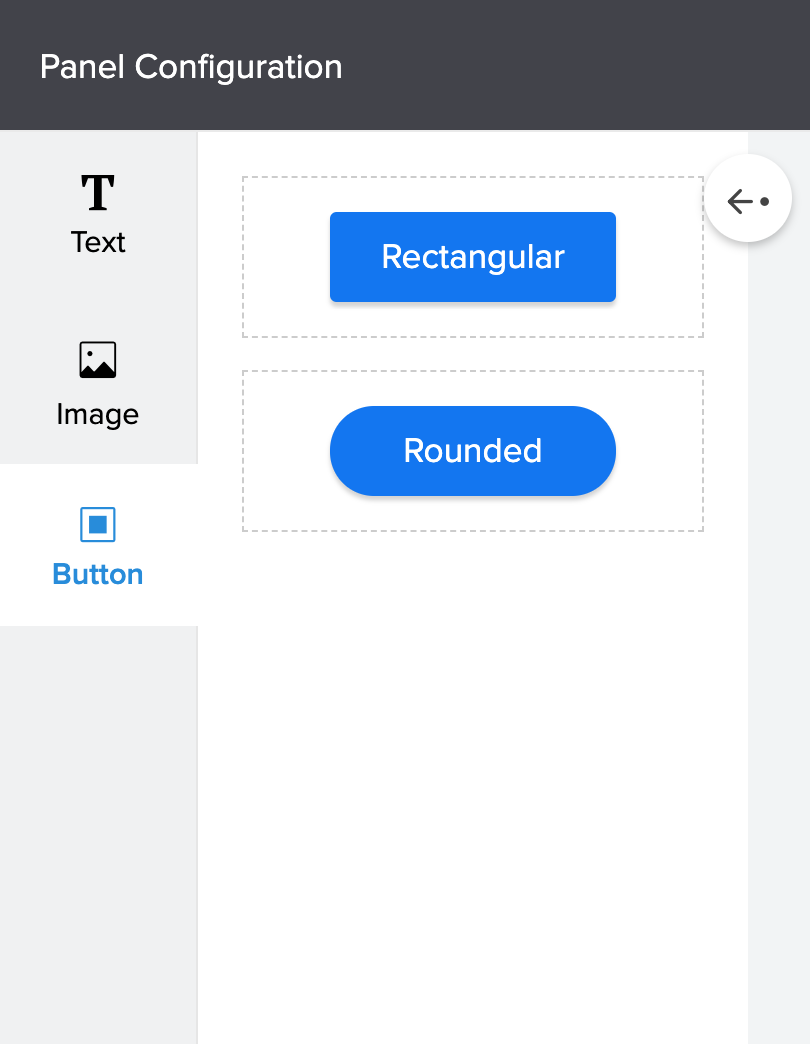
- Select Button.
- Drag and drop the required button element to the panel.

Delete element from panel
- Edit your application.
- Select the required page from the component menu near the top-left of the Design page.
- Hover over the page's preview and click Open Page Builder.
- Select the required panel.
- Click the Configure button displayed at the top of the page builder. Alternatively, you may double-click the panel. The panel builder will slide in from the right.
- Select the required text, image, or button element.
- Click the Delete Element button displayed at the bottom-right corner of the panel builder. An alert will appear to confirm deletion.
- Click Yes in the alert.