Set the height of page elements
The height option allows you to specify the height for certain page elements to suit different viewer display choices. You can set the height as auto, which has the browser calculates the height or specify a custom height in pixels. Once the height of an element is set, it will remain fixed no matter the length of its content. In the case of embedded forms and reports, you can scroll through their content.
Set height for embedded form, embedded report, and embed component
- Edit your application.
- Select the required page, then open the page builder.
- Click to select the embedded form or report in your page.
- Click the height fill (double-sided arrow) icon in the toolbar in the header area of the page builder.

- Check the required option, either Auto or Custom. If you choose Custom, specify the height in pixels.
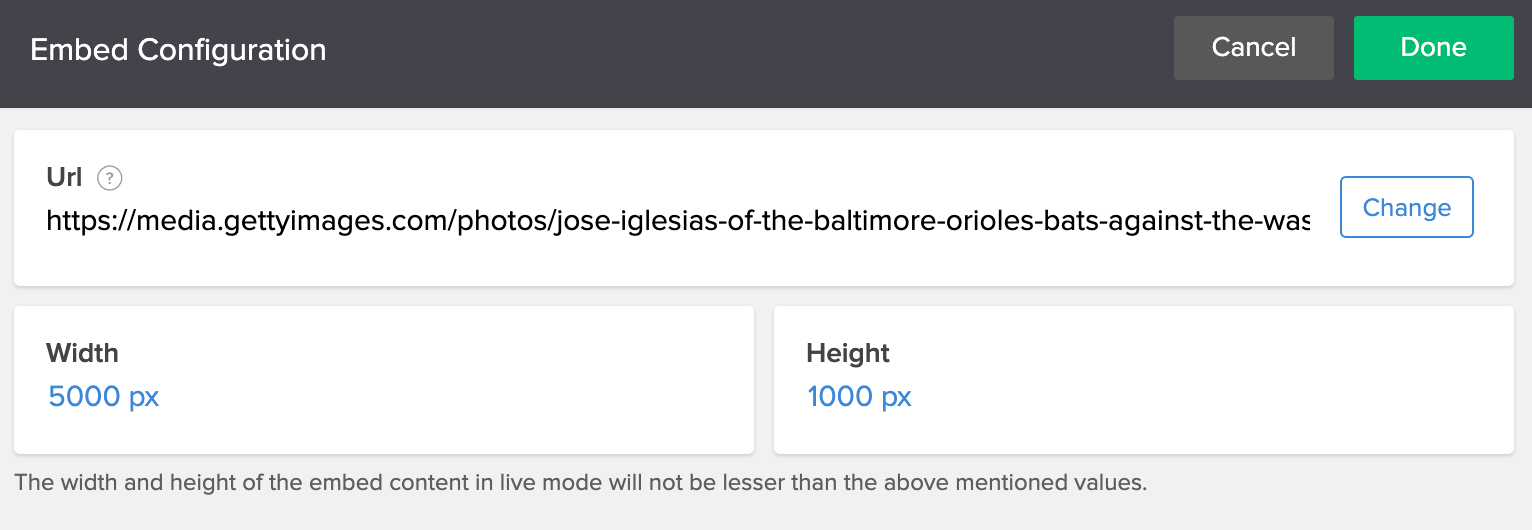
- In the case of embed component, you can specify the height and width in the relevant boxes.

Set height for panels, snippets, and buttons (includes embedded forms and reports as buttons)
- Edit your application.
- Select the required page, then open the page builder.
- Double-click the element you want to configure. You can also click to select the required element, then click the Configure option in the toolbar at the top-center of the page builder.
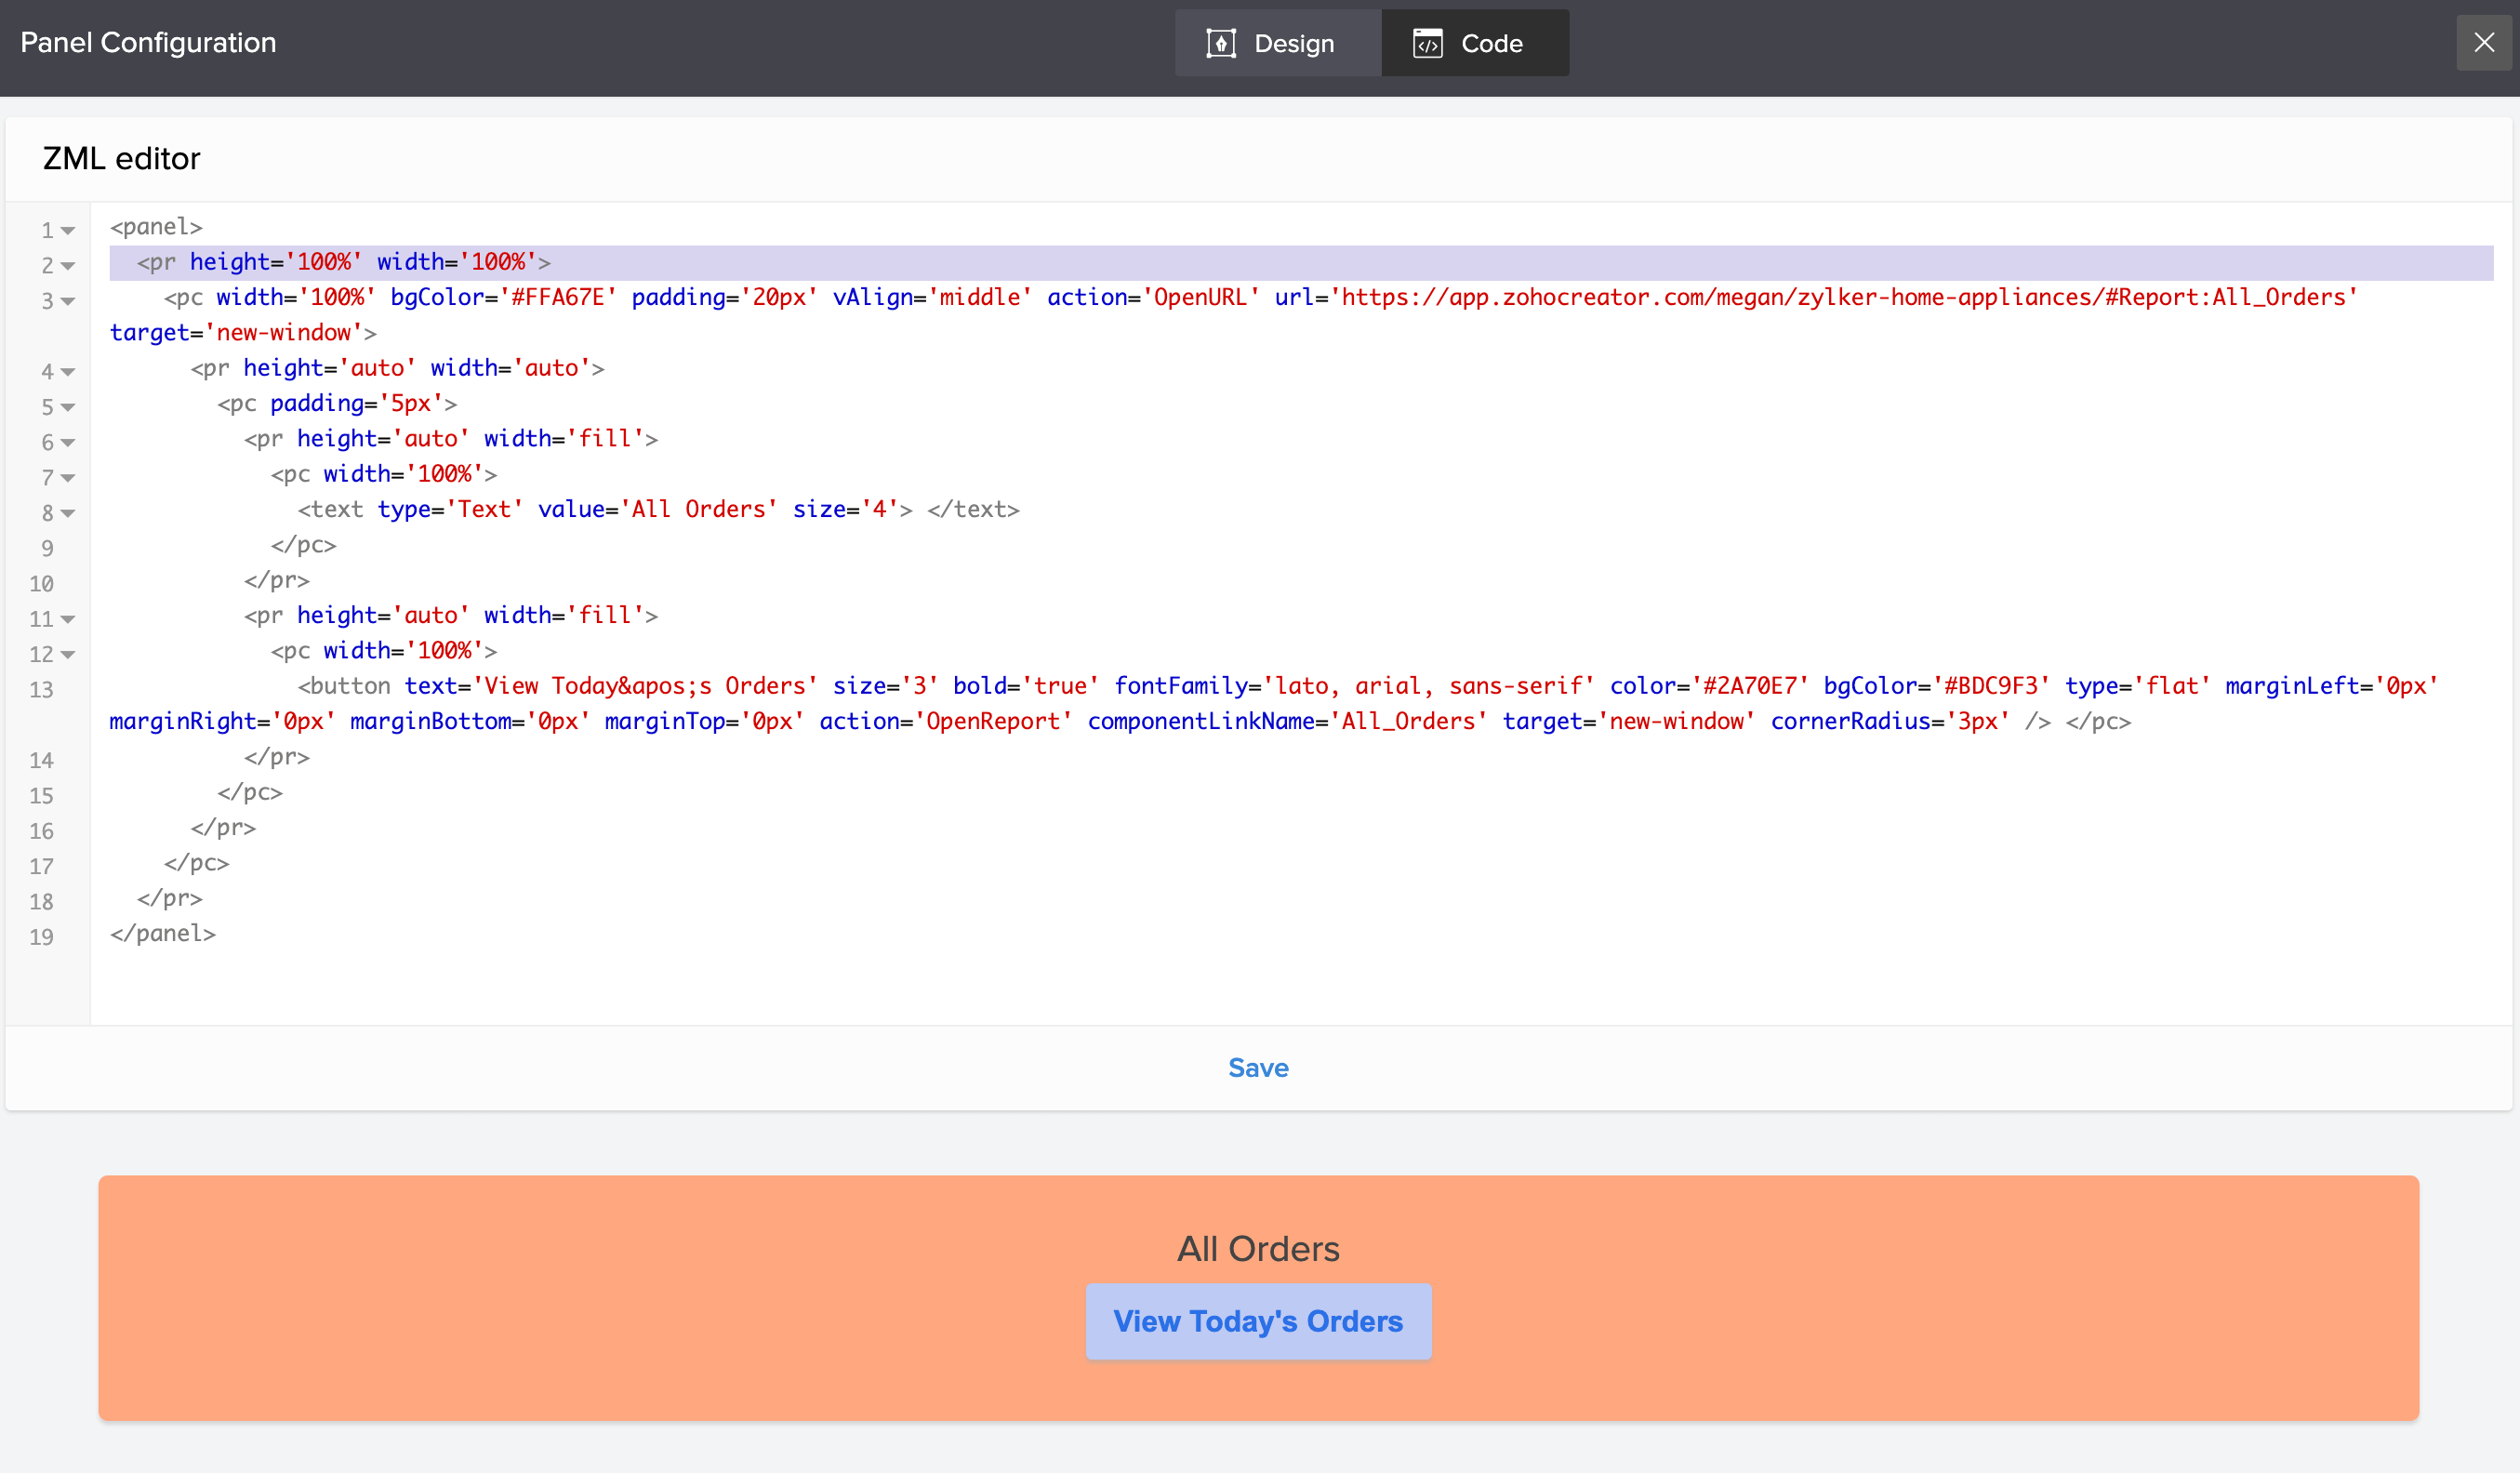
- The Panel Configuration pane will slide in from the right. This pane has two tabs — Design and Code.
- Click the Code tab and specify the height as auto, fill, or in % for the panel element. The preview of the panel will be adjusted accordingly. Below is an image of the Code tab of a panel element.
