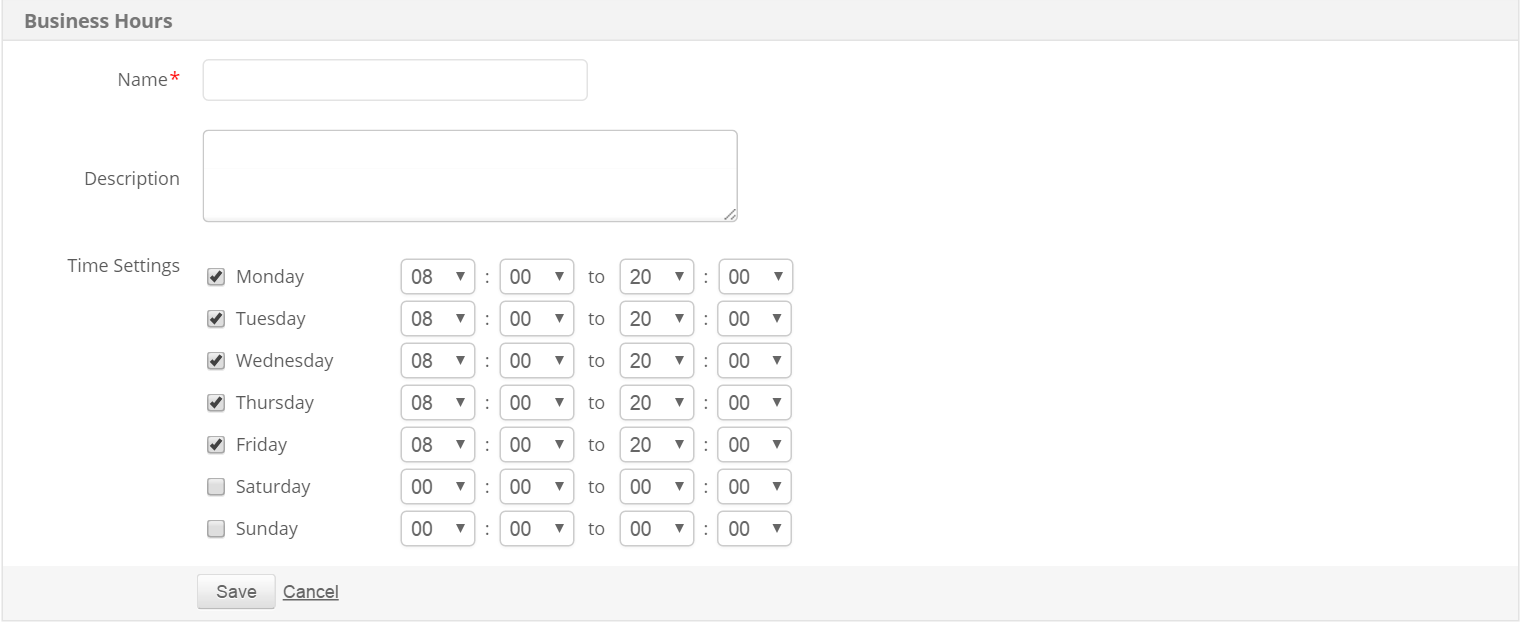
Business hours is a pre-determined set of hours which helps you to view reports for the particular hours during the day. Instead of viewing data for the entire 24 hour period, you can now view reports for the particular business hour you have set. It helps you identify the critical issue which may have arised during business hour for a particular application or resource. To create a business hour, follow the instructions given below:
Once the business hour is created, you can now generate various reports for the particular business hours you have created.
You can set Business Hours from the Central Server and the Probe Servers in the Enterprise Edition of Applications Manager. The business hours set in the Central Server automatically syncs with the Probe Servers. However, the hours set in the Central Server can only be reused and cannot be edited from the Probe Servers.
Thank you for your feedback!