Configuring Notification Rules
ManageEngine ServiceDesk Plus-MSP allows you to send notifications to requesters and technicians through notification rules. The notifications can be of two types: email and SMS. These notification modes can be set across various modules of the application, such as requests, problem, change and solution. Any default actions that you might want to perform when the state of any item changes can also be defined.
To set the notification rules and the message template,
-
Login to the ServiceDesk Plus-MSP application using the user name and password of an admin user.
-
Click the Admin tab in the header pane.
-
In the Account Details block, click Notification Rules.
-
By default, all notifications are sent in Rich text format. Clicking on Plain text formatting button will switch all the notifications in Plain text format.
- Click on the appropriate tabs to configure notification rules for specific modules.

-
To enable or disable any of the notification rules, select or de-select the check box beside each of the rules.
-
For certain notifications you need to select the technicians who need to be notified when a new request is created.
-
Click Choose button.
-
Select the technicians from the list of technicians is displayed in a pop-up window.
-
For multiple selections, press Shift or Ctrl key and then select the technicians.
-
Click OK.
-
The selected technicians get listed in the text box beside the Choose technician(s) button.
-
-
Click Save.
-
Save button is applicable for Requester Notifications and Technician Notifications separately.
-
Associated Accounts can be viewed, when we select the particular account under requester notifications.
-
Requester Notification rules can be configured for each account. You can do this by selecting an account from the account combo box, select the relevant check boxes and click Save. Alternatively, you can also use the Copy To Account link to copy a notification to one or more accounts.
-
When you enable the Copy only enabled notifications and the Selected Accounts, you can copy the accounts from Available Accounts to Selected Accounts. Now all the copied enabled notifications will be displayed under the selected accounts.
-
When you enable the Copy both enabled and disabled notifications and click Selected Accounts, you can copy the accounts from Available Accounts to Selected Accounts. Now all the copied enabled and disabled notifications will be displayed under the selected accounts.

- When you enable the Copy only enabled notifications/Copy both enabled and disabled notifications and All Accounts, you can copy the notifications to All Accounts.

|
Note
|
While saving the notifications settings, if "All Accounts" is selected in the account combo box the selected Requester Notifications settings will be applied for all the accounts. Also, the Associated Accounts will not be displayed. |
Customizing Message Template
You can customize the message template for each of the notifications.
1. Click Customize Template link beside the notification for which you wish to modify the content that is being sent.

2. You can change the subject and the message content by typing the text of your choice and also adding other variables that you wish to display as a part of the subject or message content. To add more variables, just click the corresponding variable from the list box beside the respective field.
3. To configure the message to be sent in the acknowledgment mail, click Request tab under Notification Rules.
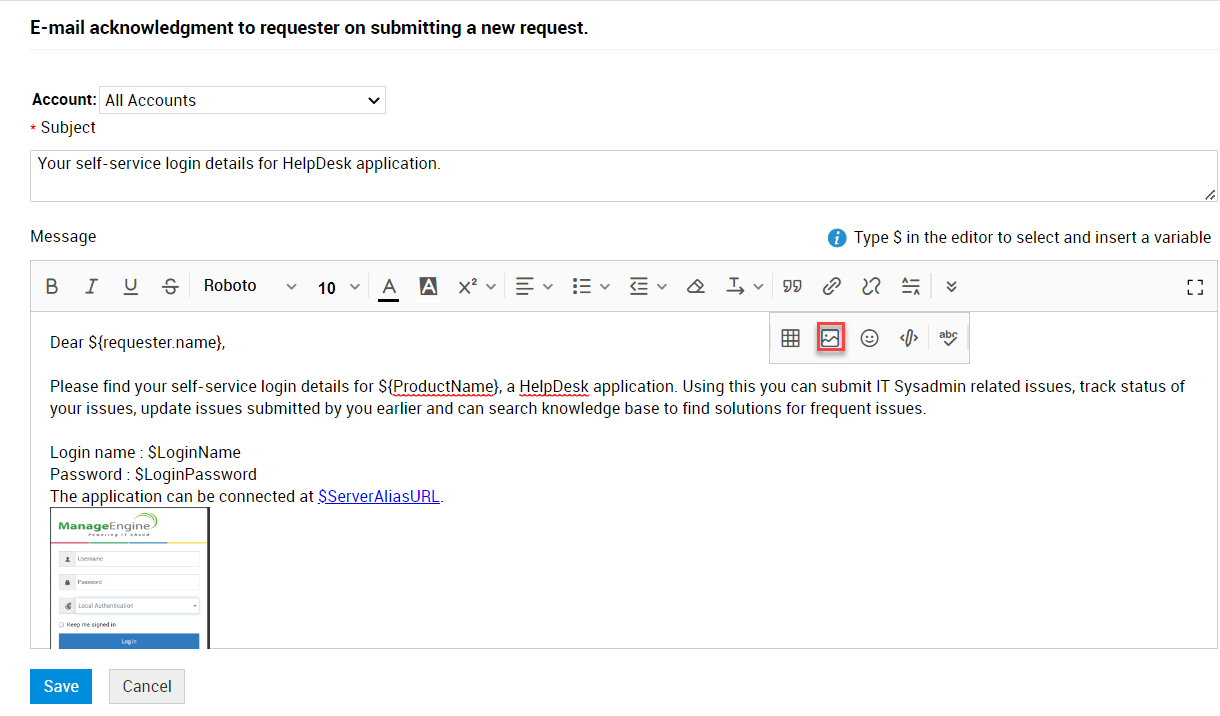
4. In the Requester Notifications, select the checkbox to Acknowledge requester by e-mail when a new request is submitted and then click Customize template.
5. In the editor, the message is auto-populated. You can edit the message and add inline images as per your requirements and then click Save.
Junk Mail Notification
Junk Notification Filters prevents unwanted acknowledgements or notifications being sent to requesters / technicians when an information mail reaches the help desk. These mails are not requests and do not require any action to be taken.
Say, acknowledgement email like Out of Office replies, notifications that bounce back when the mail destination is not reachable (because of a wrong mail address) can be stopped from being acknowledged or notified.
To define a Junk Mail Notification,
-
Click on Edit Criteria link.
-
Define a rule by select the criteria and condition from the drop down combo list.
-
Click Choose.
-
Enter the value in the field provided. Click Save.
-
Click Add to Rule.
-
You can either match all of the following (AND) or match any of the following (OR) criteria. Select an appropriate radio button.
-
Click Save.
You can also edit or delete the criteria on clicking the appropriate icon.
Place holders
From build 14200, you can use the variables $ConversationsDetails, $NotificationDescription, or $NotificationSubject in the request notification rules templates.
$ConversationsDetails
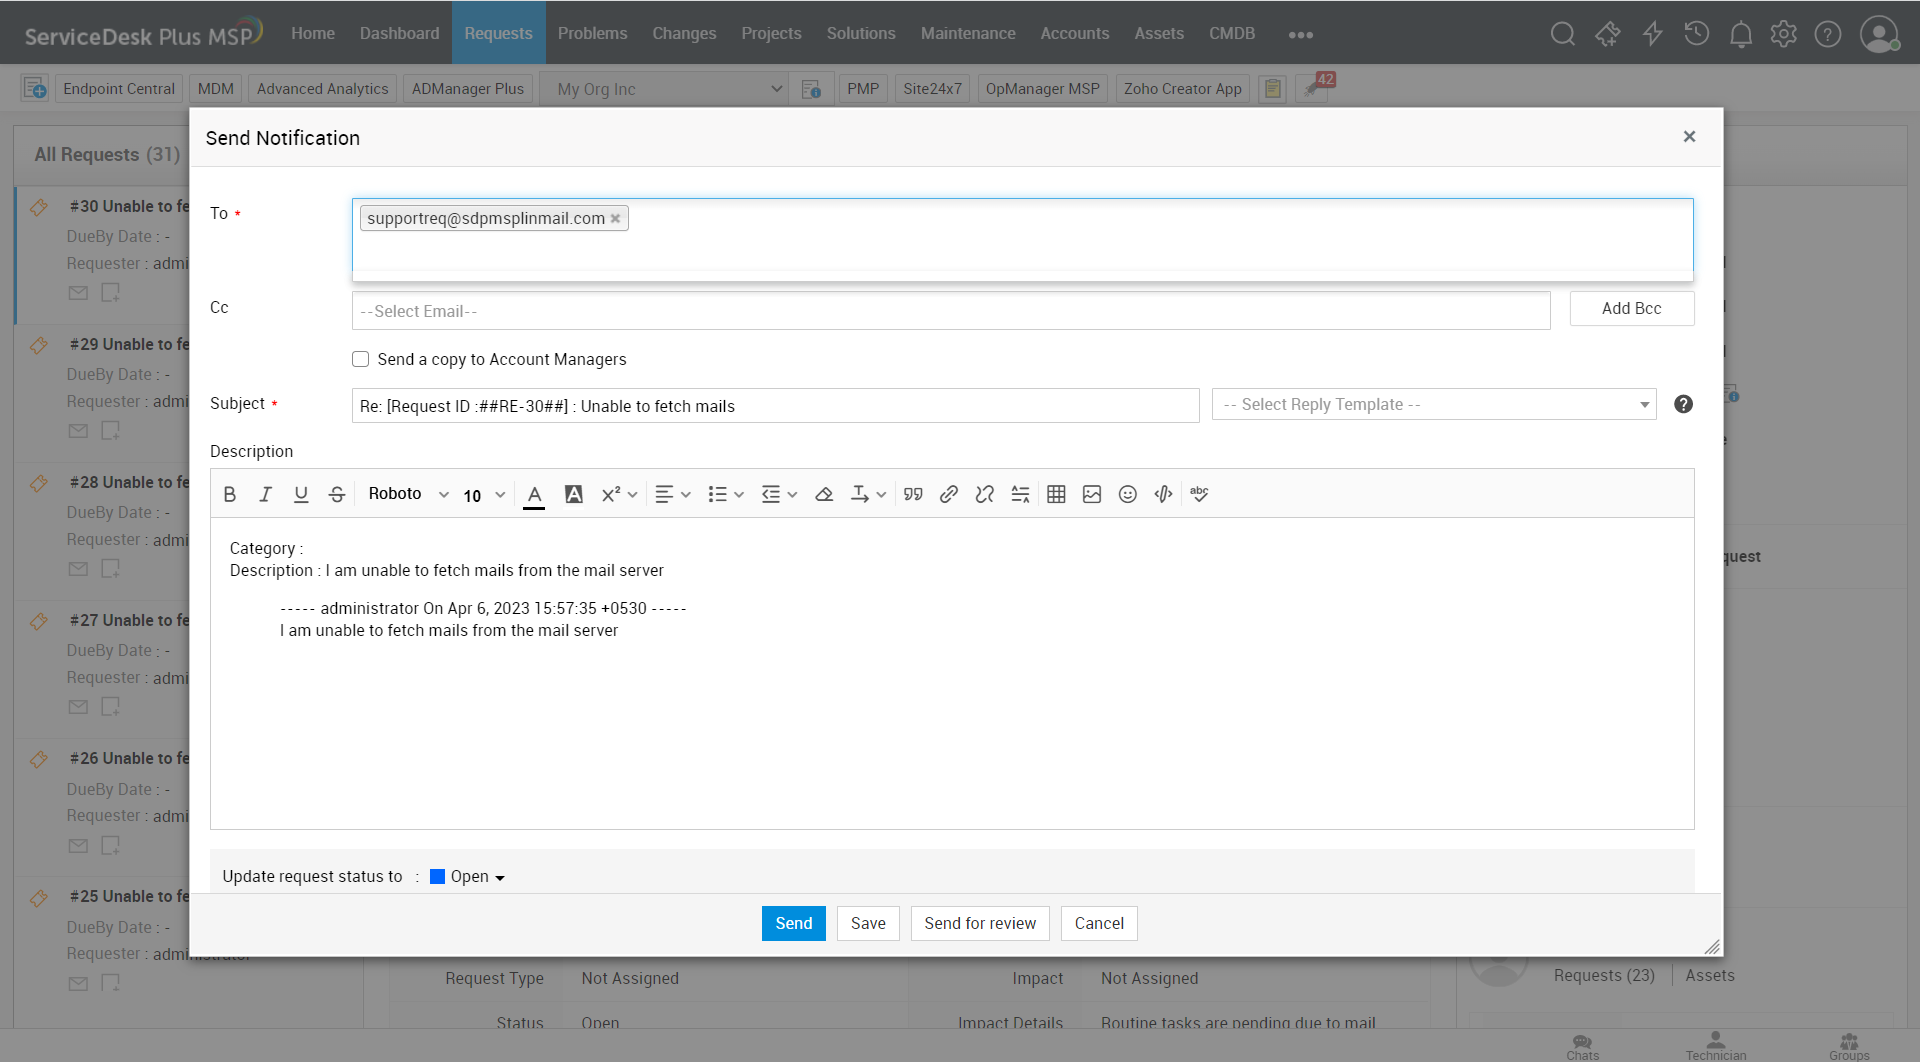
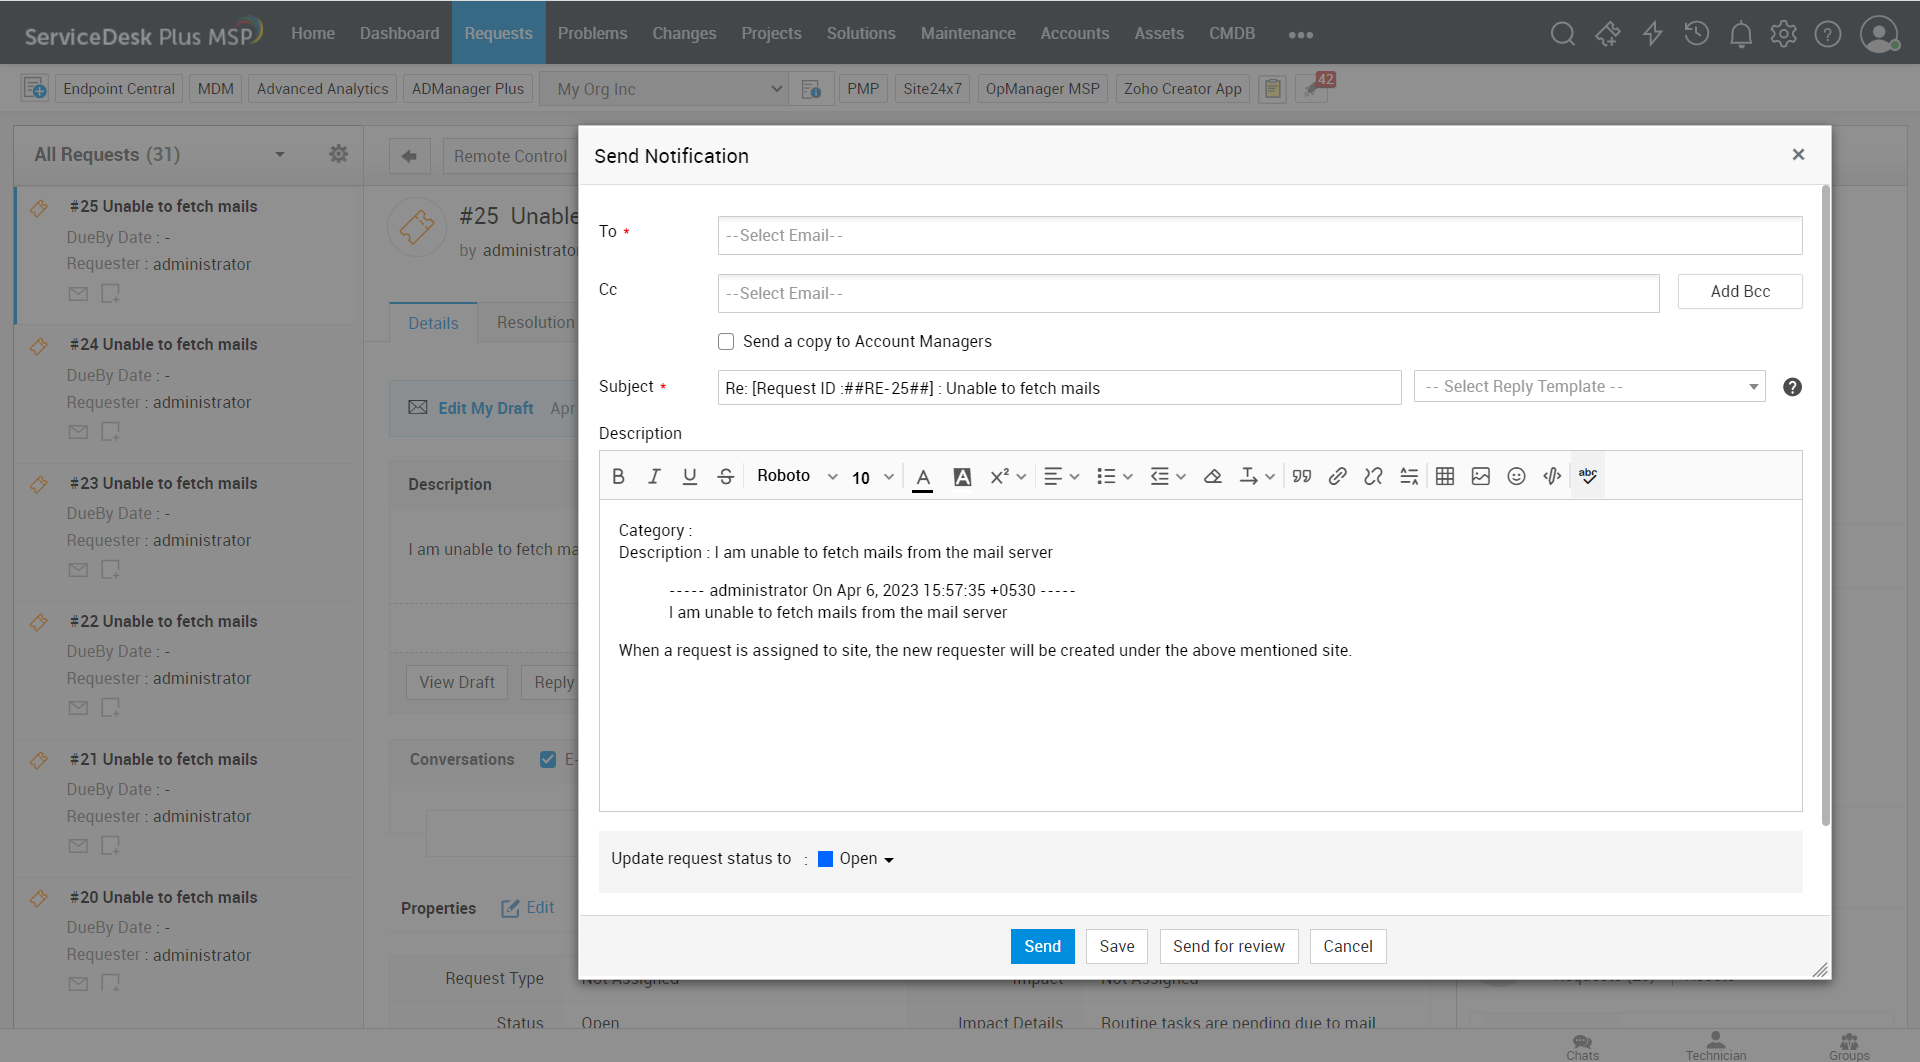
Replaces conversation or description content with respect to request properties (requester name, subject, description, created time, and TO/CC/BCC fields) based on the selection of reply/forward from the request conversation or description.

$ConversationsDetails when reply is selected

$ConversationDetails format when forward is selected

$NotificationDescription, $NotificationSubject
Replaces notification description or notification subject respectively. These variables will be listed while typing $ in the notification templates.

You can use these variables in the following notification rules template:
-
Acknowledge sender by e-mail on receipt of the email reply.
-
Notify requester and CC users when a technician's reply through email is appended to the request.
-
Alert(or Notify) technician by e-mail when there is a new reply to the request.
-
Replying to a request
-
Forwarding a request


