Database Migration Tool
You can use this tool to migrate data between two databases (Postgres to MSSQL and vice versa) as well as between operating systems (Linux to Windows and vice versa).
You can perform the following data migration with this tool:
-
Server migration across databases ( Postgres to MSSQL or MSSQL to Postgres )
-
MSSQL database server migration from one database server to another.
Possible Database Migrations
Postgres to Postgres: Data can be migrated between two databases of the same installation as well as different installation.
Postgres to MSSQL: Data can be migrated between two databases of the same installation as well as also different installation.
MSSQL to Postgres: Data can be migrated between two databases of the same installation as well as also different installation.
MSSQL to MSSQL: Data can be migrated between two databases of the same installation as well as different installation.
Prerequisites
Database configurations details (such as host, port, username, password) of source server and destination server are required.
Performing Database Migration
Steps to be followed in the destination database application:
1.In the case of postgres, from the destination database, execute {build_dir}/bin/run.bat. This will create the destinationdb database with the information available in conf/database_params. You can also modify the destinationdb details by executing bin/changeDBServer.bat.
2.For migration to occur, the destination database should be empty, run {build_dir}/bin/reinitialize.bat. This will empty the destination database.
3.Start the destinationdb server to establish connection from the source. To start the server, run {build_dir}/bin/startDB.bat.
Steps to be followed in the source database application:
In the case of mssql, the database will be created while filling destinationdb details in the applet.
4. From the source application, connect to the destination database by executing {build_dir}/bin/migrateDB.bat. To get destination database server information, a dialog box will be prompted similar to changeDB. The destination database details can be filled from console by running migrateDB.bat --console.
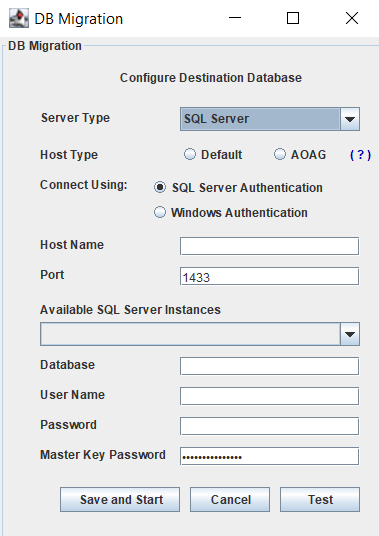
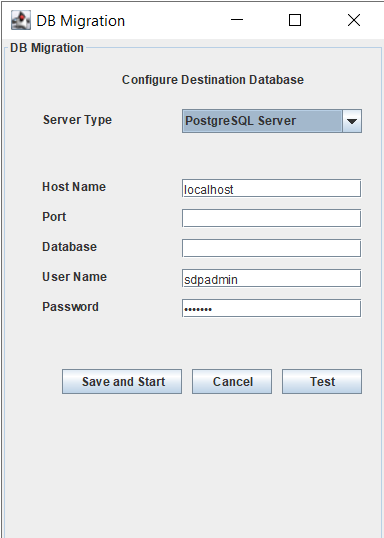
Also the destination database details can be filled in from the console by running migrateDB.bat --console
-
Select 1 if the destination database server type is postgres
-
Select 2 if the destination database server type is mssql.
-
Select 3 to exit.
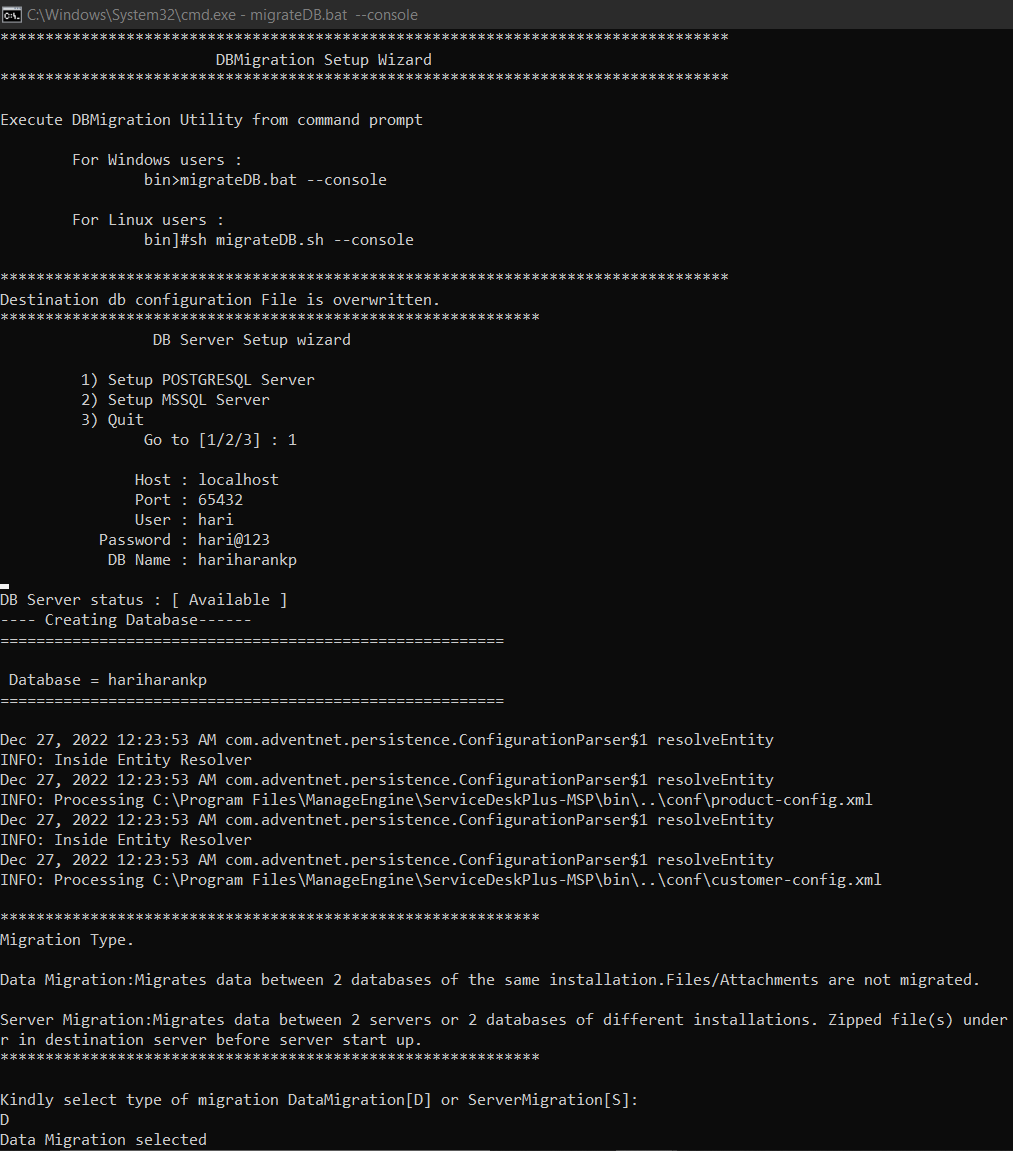
Once the given destination details are connected, the type of migration is asked. If you are migrating data from one server to another in a same installation, choose data migration. If you are migrating the data to a different installation, select server migration.
If you choose server migration, the files/attachments backup will be taken as dbMigrationFileBackup.ezip and placed under <mspdesk-home>/dbMigrationFileBackup folder, which should be extracted in the destination installation.
If the file attachment location is configured externally by configuring attachment settings, then the fileattachments folder will not be included in the migration. Since file attachments are not saved in the mspdesk directory, they are not included in filebackup. However, if server migration and the file attachments location are not configured externally, then it will be included.

Production or test setup confirmation
Once you have selected a migration type, a popup will be shown to confirm whether you want to migrate the data to production or test setup. Click Yes if you want to migrate the data to the production build. If you want to test the migrated data in a test instance, you can click No. You can also Cancel the migration.

Once the type of migration is chosen and the production or test setup confirmation is done, the migration starts and the progress bar will be displayed.
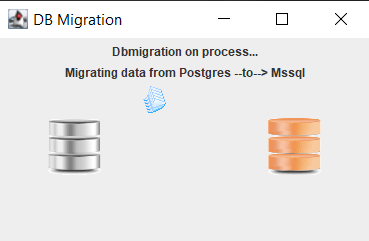
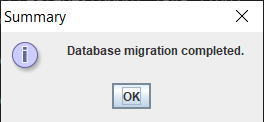
When the database migration is complete, you will get a popup confirming the same.
On completion of a server migration, the following popup will be displayed, prompting you to extract the zipped files under <mspdesk/dbMigrationFileBackup> from the source server to <mspdesk> folder on the destination server before the server starts up.

If the fileattachments folder is configured externally on the source server, then steps to configuring the same in the destination server will be displayed as well.

Similarly, if the migration fails, a popup will be displayed informing the same.


